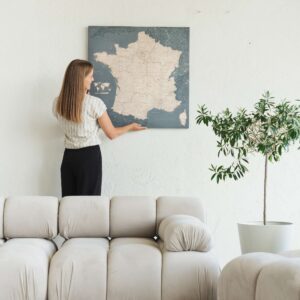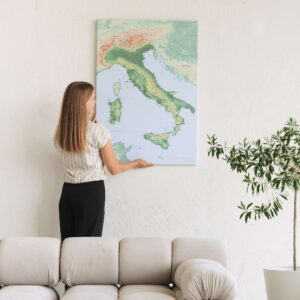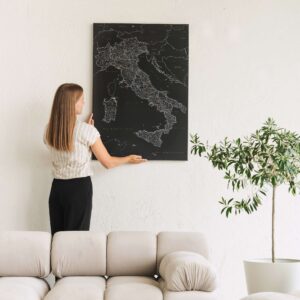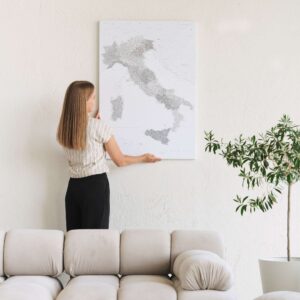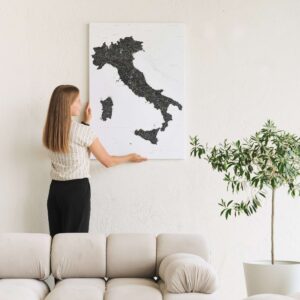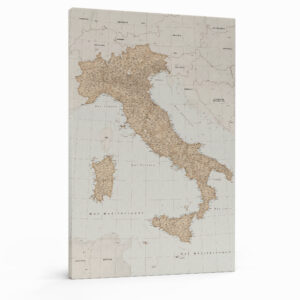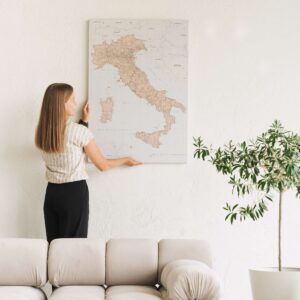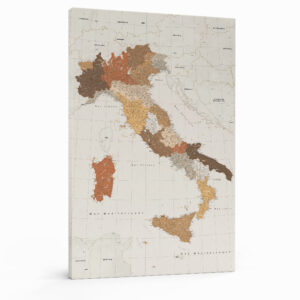
What kind of tools do I need?
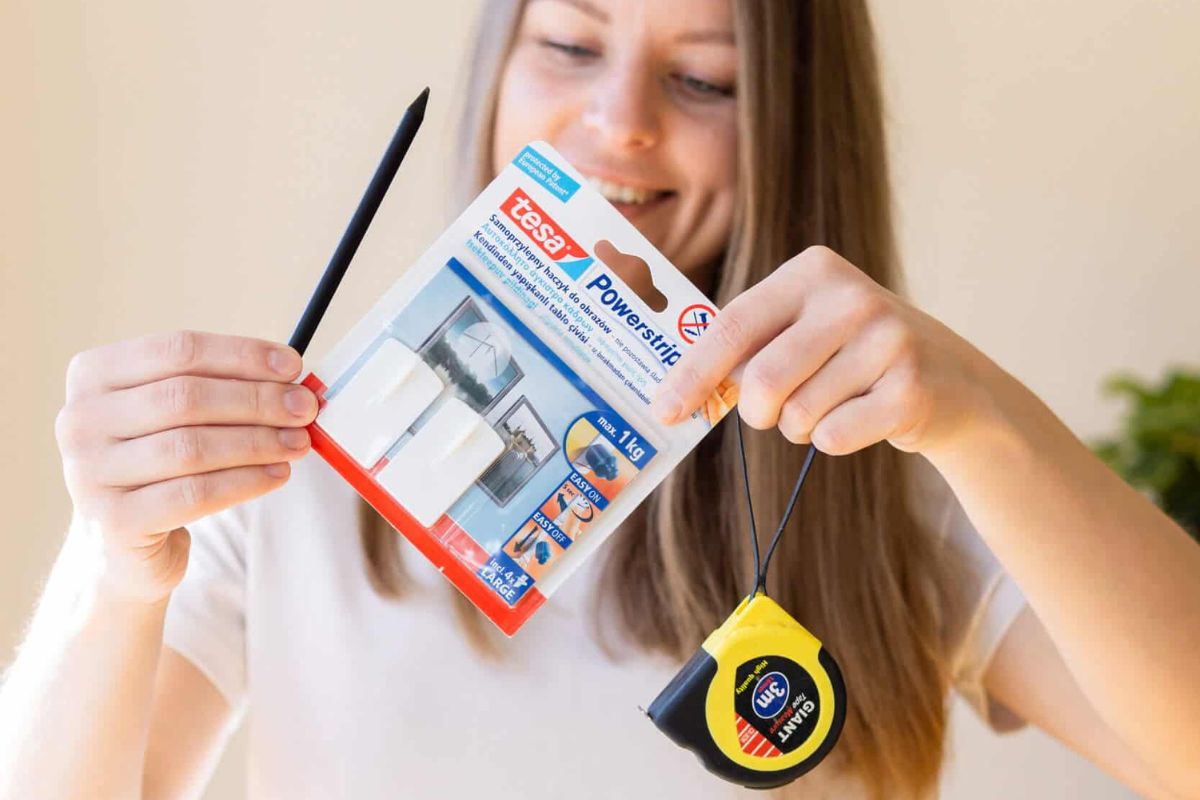
To hang your push pin travel map, you’ll need a few essential tools:
- Either 2 screws or 2 sticky picture hanging hooks/strips (you need 2 because the hanging hooks are in the left and right corners of the map);
A pencil;
- A long measuring meter (at least 2 m long).
- If you’re using hanging hooks/strips, please check the maximum weight they can hold. Take into consideration that if one hook can hold 2 kg, 2 hooks will hold 4 kg.
E.g. if the weight of the map is 2 kg, you’ll need 2 hooks, and each of them should be good to hold at least 1 kg.
Trip Map sizes and weights:
150×100 cm // 59×39,3 in – ~5 kg // 11 lb
120×80 cm // 47,2×31,5 in – ~4 kg // 8,8 lb
100×70 cm // 39,3×27,5 in – ~3 kg // 6,6 lb
85×60 cm // 33,4×23,6 in – ~2 kg // 4,4 lb
The process
1. Mark the height for hanging
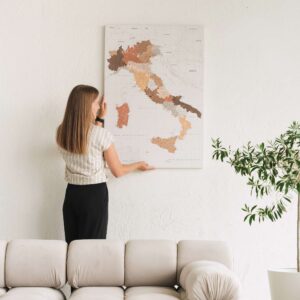
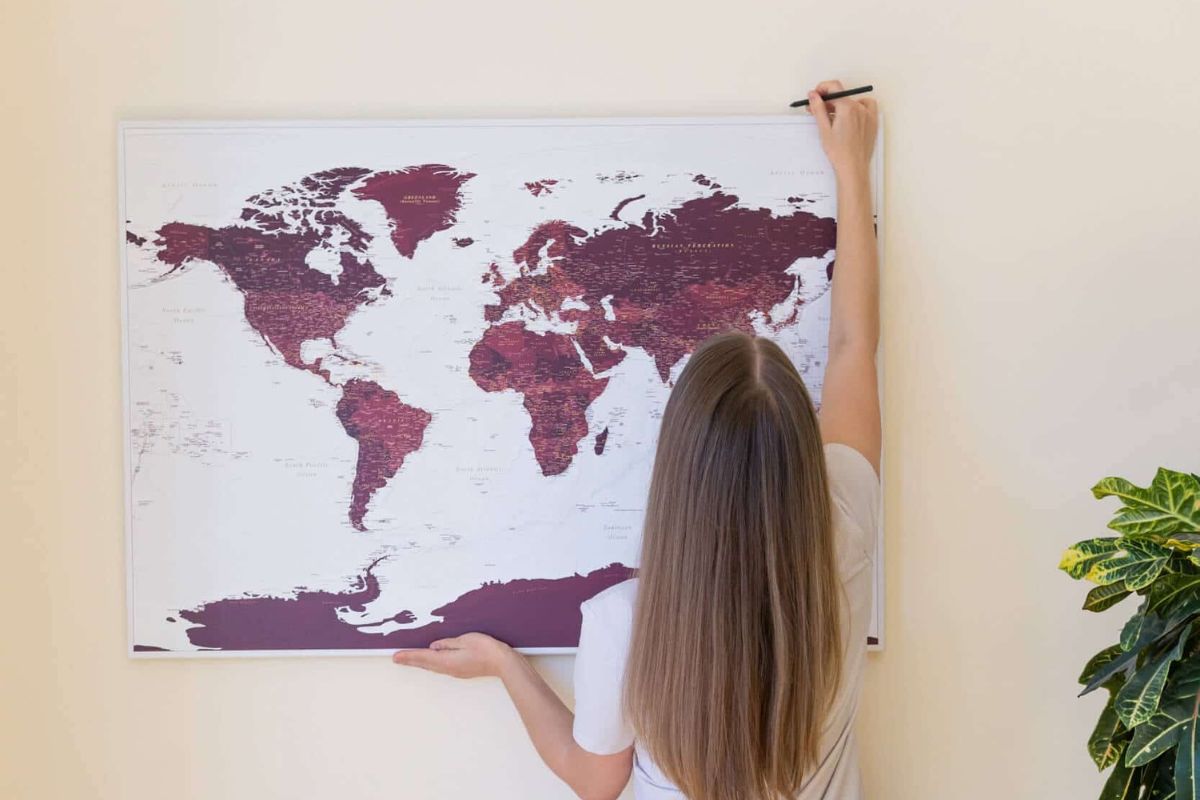
Place the map on the wall and with a pencil, mark the height where you want to hang the map.
Instead of marking the middle of the map, we recommend marking one of the corners. This will be the point where you’ll place the first screw or hook.
The map should be hung in such a height that its middle would be right in front of your eyes. This way it will look properly hung and it will be easy for you to examine it.
2. Mark the points for the hooks/screws
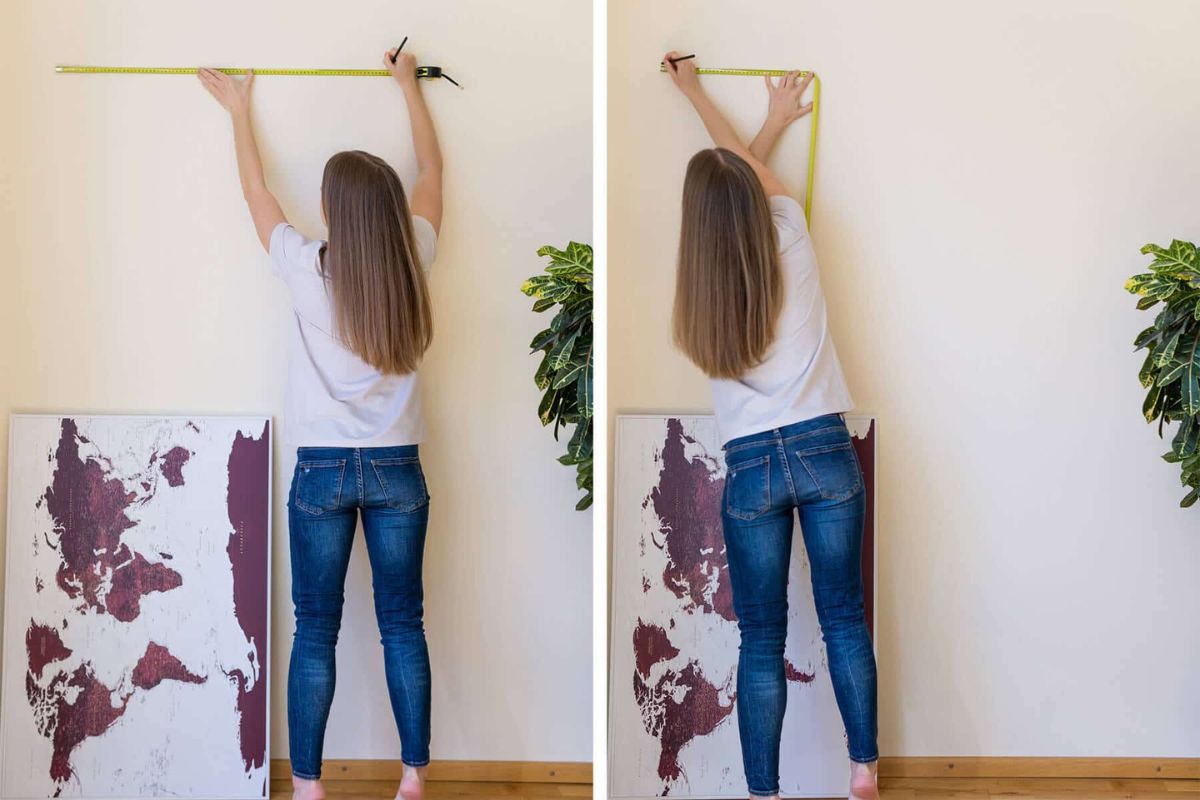
Put the map aside. Using a meter, mark the point where you’re going to place the second hook or screw.
These points should be placed according to the size of the map.
Trip Map sizes and spaces between the hooks:
150×100 cm // 59×39,3 in – 140 cm // 55,1 in
(UK & Ireland map 90 cm)
120×80 cm // 47,2×31,5 in – 110 cm // 43,3 in
(UK & Ireland map 70 cm)
100×70 cm // 39,3×27,5 in – 90 cm // 35,4 in
(UK & Ireland map 60 cm)
85×60 cm // 33,4×23,6 in – 75 cm // 29,5 in
3. Even out the height of the points
Now you need to make sure that the marked points are at the same height. Using a meter, measure the distance between the floor and each of the points.
If the points are in different heights, adjust them by moving one of the points either up or down.
E.g. if one point is at 190 cm, and the other one is at 191 cm, you can either move one of the points 1 cm upwards or move the other point 1 cm downwards.
4. Check and measure one more time
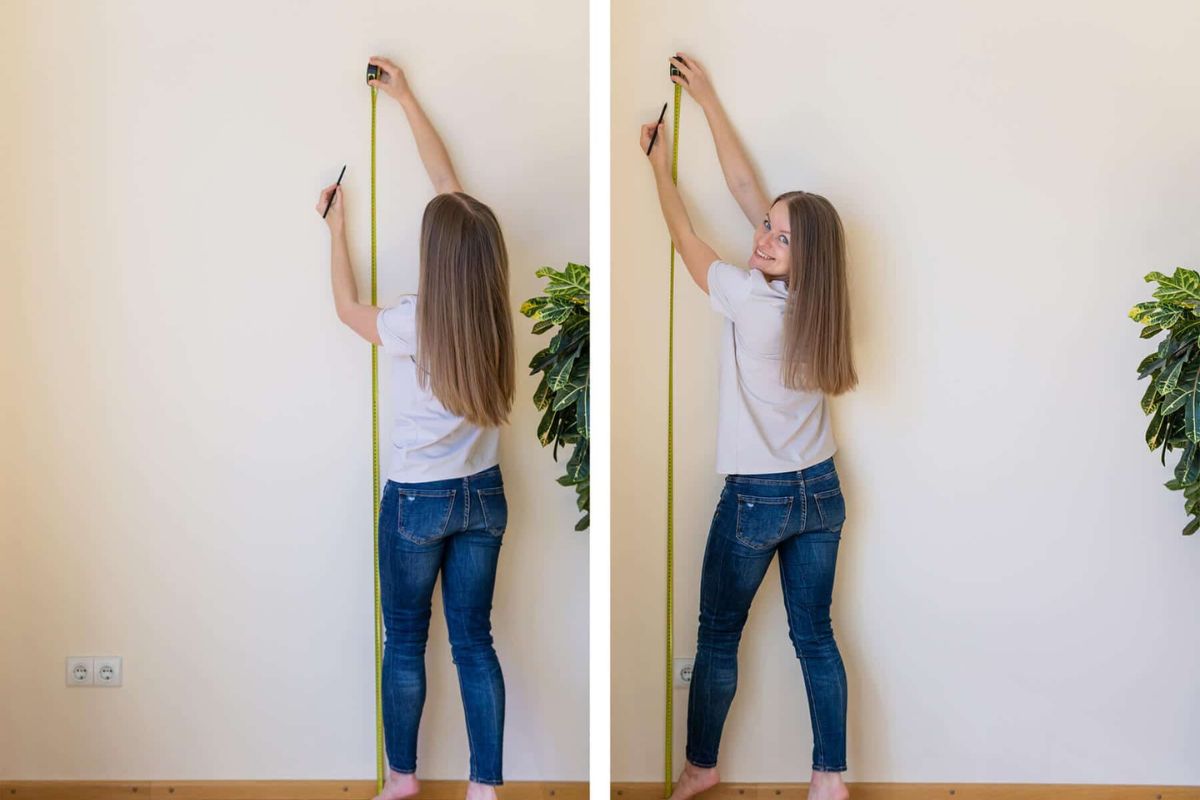
Measure the distance between the points one more time, as well as the distance between the floor and the points. You need to be absolutely sure that you did everything right.
5. Place the hooks or drill in the screws
Depending on what you are using to hang your travel map, either stick the hanging hooks (using the instructions you find on the box) or drill in the screws onto the marked points. If you have a wooden wall, you can also use nails.
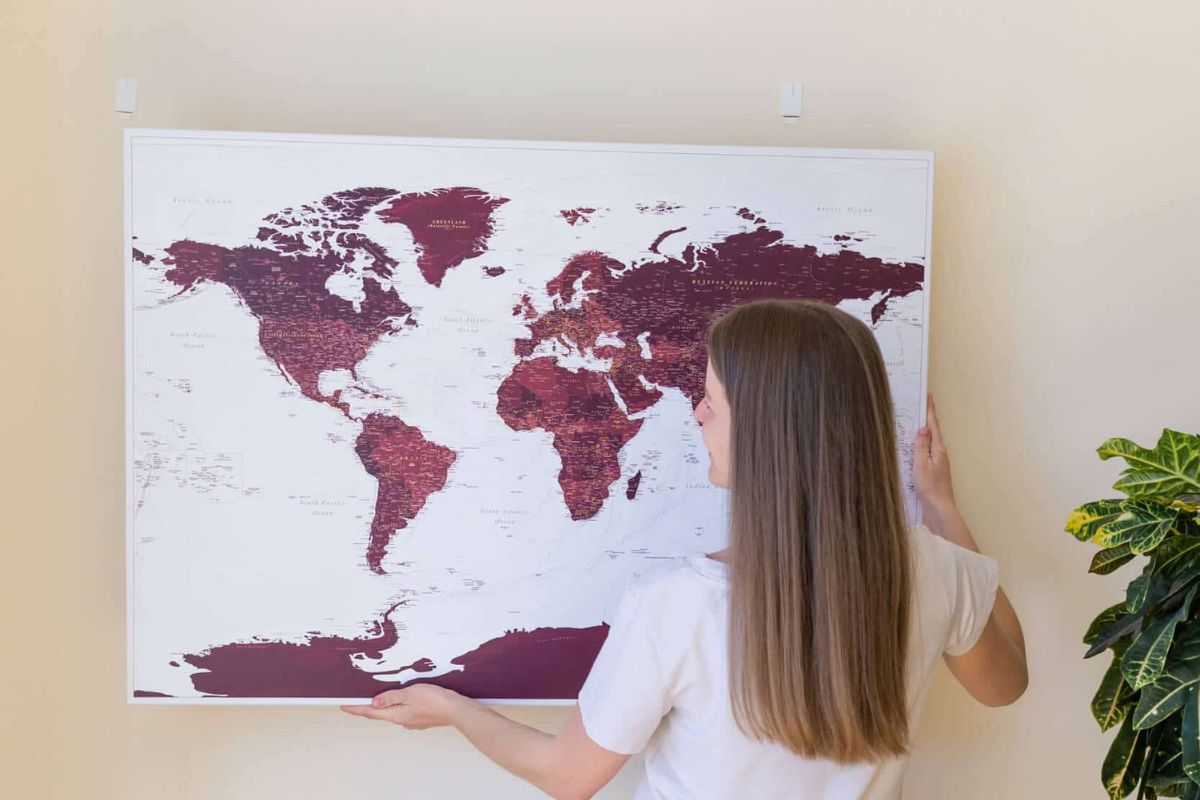
6. Hang the map
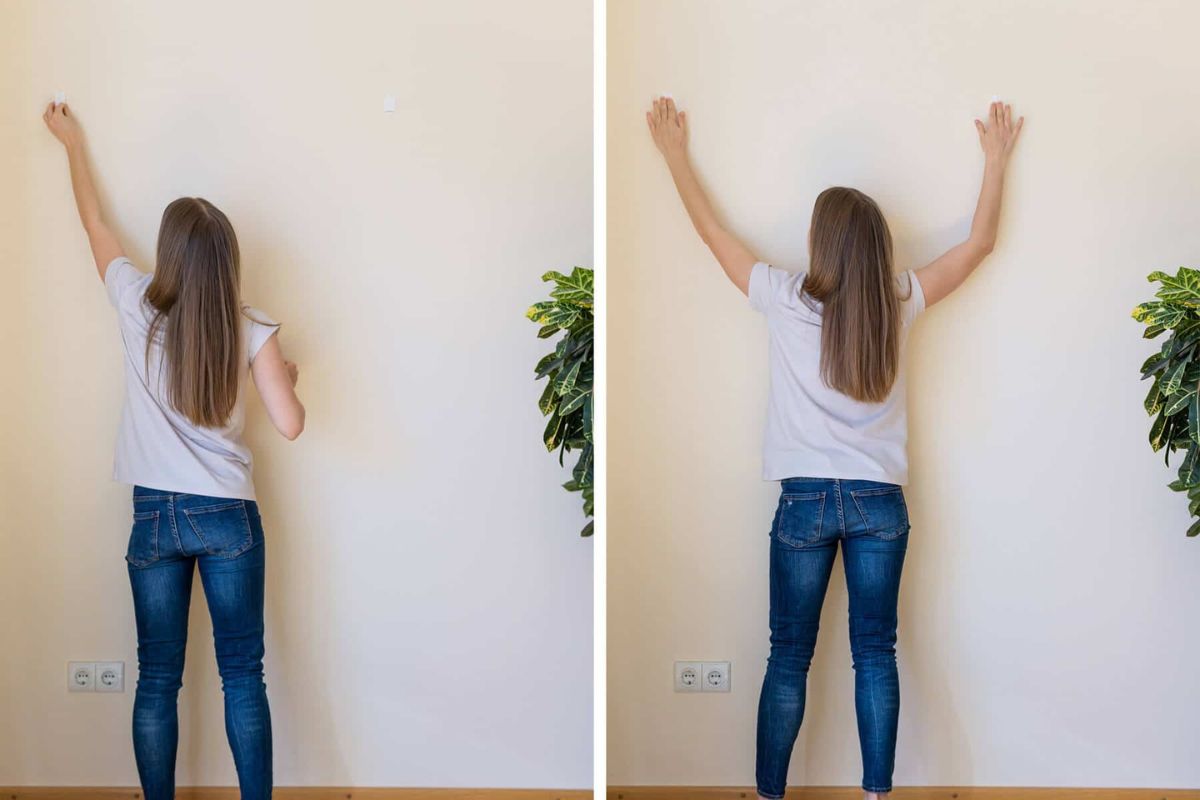
Hang your travel map onto the hooks/screws.
Move away from the wall and look once more if the map is hanging straight. If not, you can straighten it by moving the map left or right, then check the result with a spirit level.
7. Start pinning!
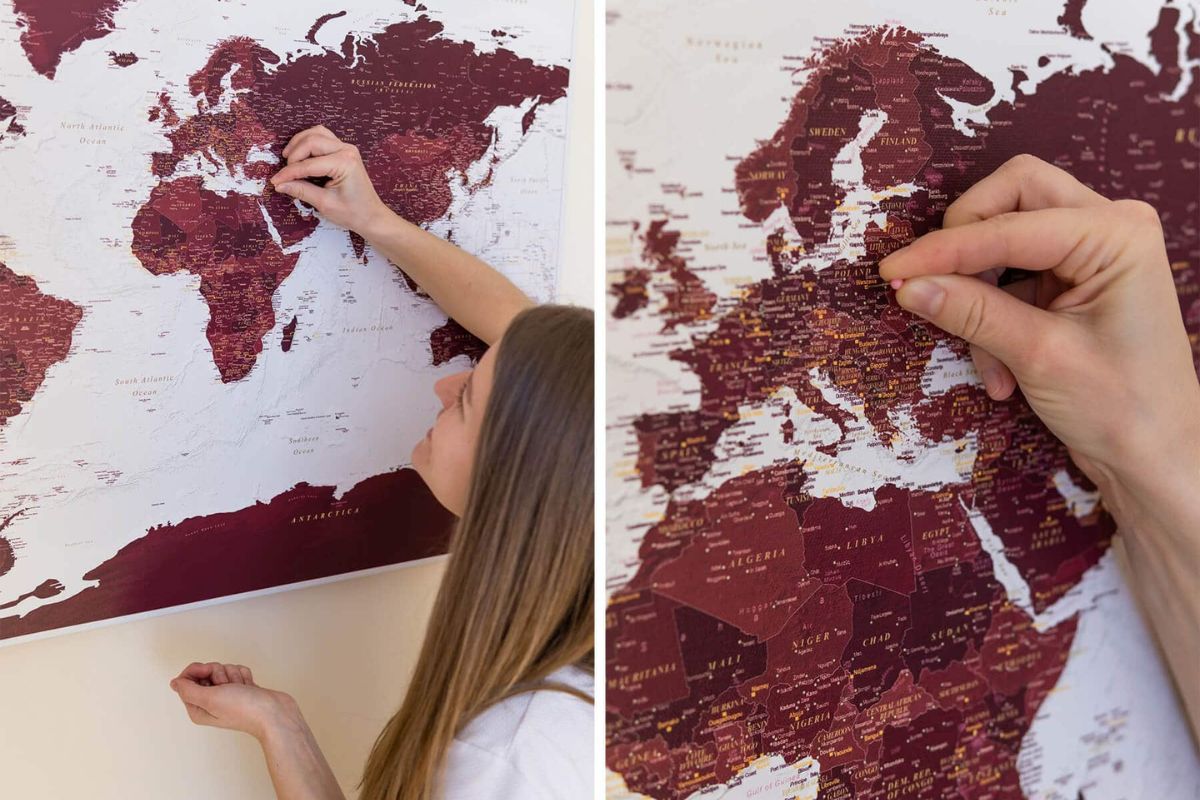
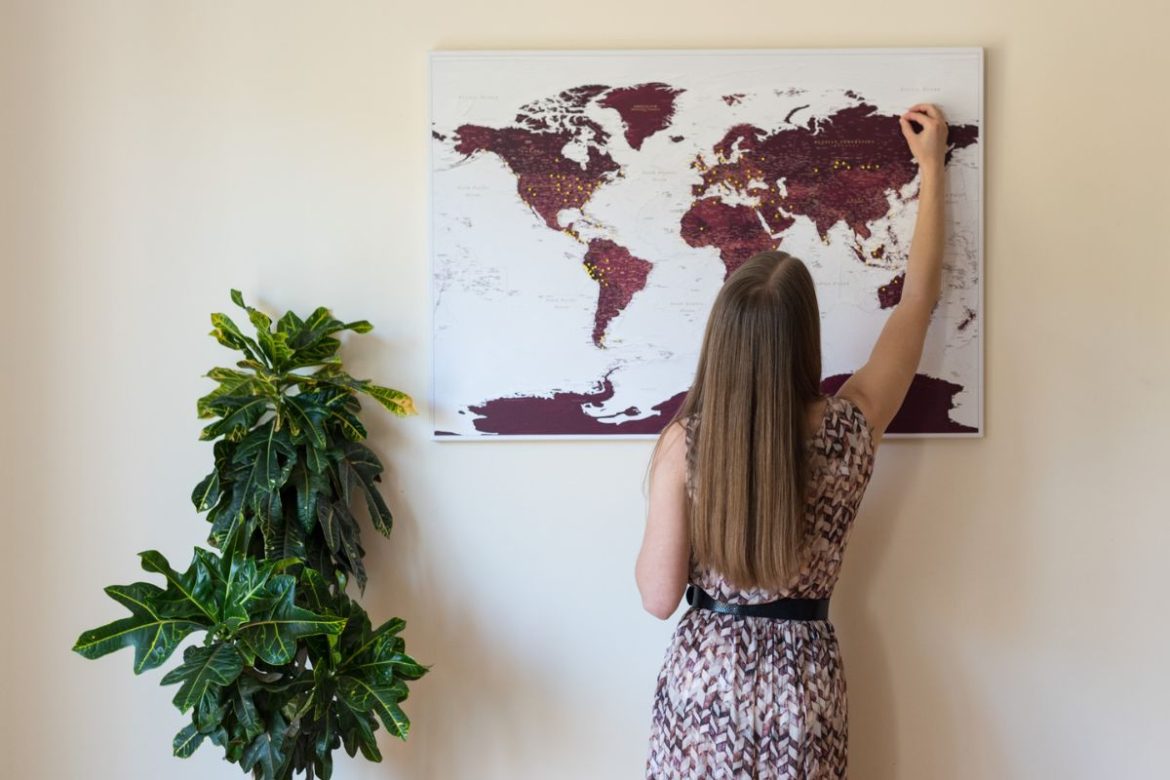
Now that you’ve hung the map you should be proud of yourself! You can finally start pinning the places you’ve visited!
Why do we hang the Trip Map from the two corners, and not from the middle?
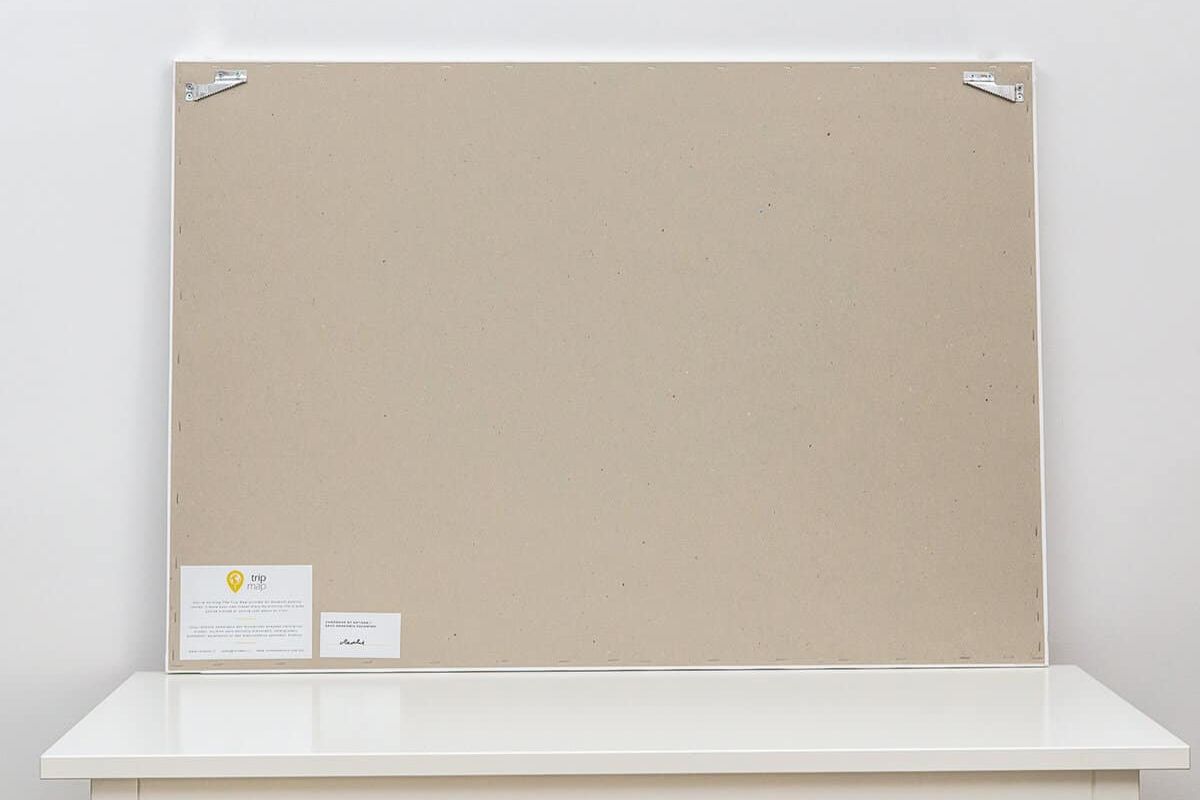
Hanging the map from the corners makes sure that it won’t move and will always remain in the same position. This is extremely important because travel maps are being used interactively and touched all the time.
If we only hang the map from its middle, it will be constantly swaying to one side or the other. The picture is of large format, which means its tilt angle could be changed not only by touching but also just by a gust of wind in the room.
Hanging the map from both corners is the proper and quality way to hang large-format pictures.
How should I look after my map on canvas?
Our travel maps on canvas are protected with a layer of special varnish. That is why they don’t require everyday care, we only recommend cleaning off the dust from time to time. More about taking care of your travel map here: “How to Clean a Map on Canvas and Keep It Looking Great?”.






 Blog comments (0)
